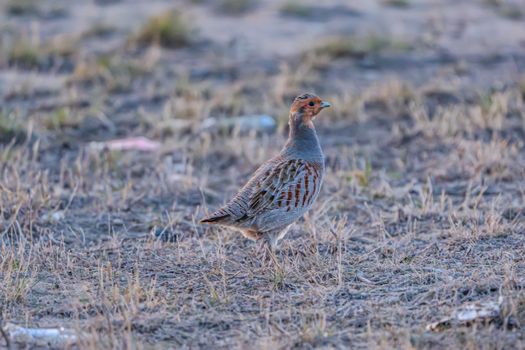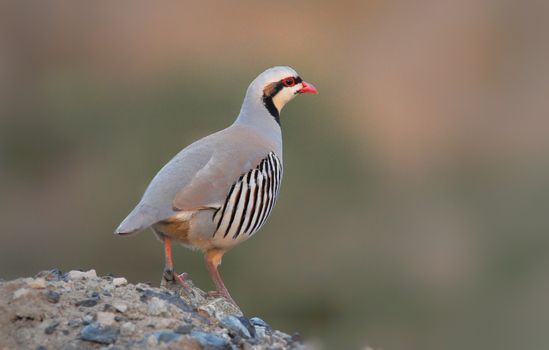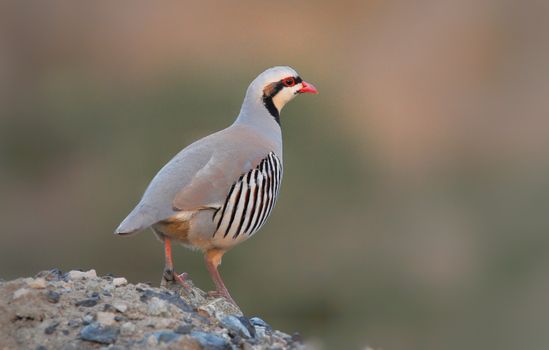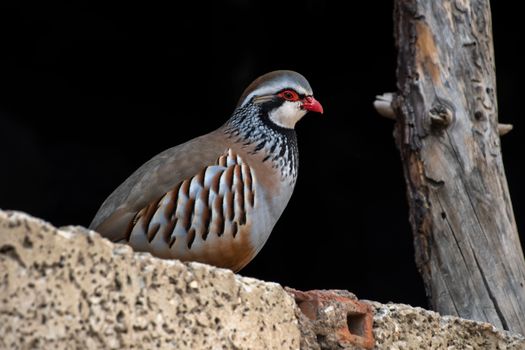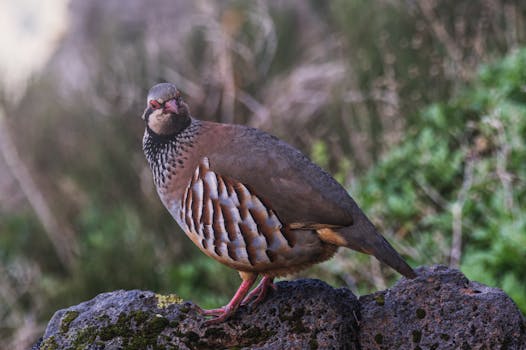
Raising Chukar partridges (Alectoris chukar) has gained increasing popularity among hobbyists and commercial breeders alike, thanks to this hardy bird’s adaptability and high market demand. However, one of the most crucial steps to successful Chukar partridge farming is mastering the incubation process. Proper incubation not only maximizes hatch rates but also ensures robust, healthy chicks. Whether you’re a first-time poultry keeper or looking to improve your hatchery outcomes, understanding the step-by-step incubation process is essential for success. This guide explores every aspect of how to properly incubate Chukar partridge eggs, from selecting the right eggs to hatching day, using research-backed advice and hands-on experience.
Selecting and Storing Chukar Partridge Eggs for Incubation
The incubation journey begins long before eggs are set in the incubator. Careful selection and proper storage of Chukar partridge eggs can significantly impact hatch rates and chick health.
First, always choose eggs from healthy, mature Chukar hens that are between 8 and 24 months old. Avoid using eggs from birds showing signs of illness or nutritional deficiencies, as these can negatively affect embryo development.
.png)
Eggs should be uniform in size and shape, free from cracks, and have clean, unbroken shells. Research from the University of California Cooperative Extension suggests that eggs weighing 16 to 20 grams yield the best hatchability in Chukars.
Once collected, store eggs at a temperature of 55-65°F (13-18°C) with a relative humidity of 70-80%. Store eggs with the pointed end down and turn them at least once a day to prevent the yolk from sticking to the shell. It’s best to incubate eggs within 7 days of laying; after 10 days, hatchability drops by up to 20%.
Preparing the Incubator: Settings and Calibration
The right incubator setup is critical for success. Chukar partridge eggs require specific temperature and humidity settings for optimal development. Use a forced-air incubator for best results, as it maintains even airflow and temperature.
Set the incubator temperature to 99.5°F (37.5°C). For humidity, maintain a relative humidity of 45-50% (around 35-40% wet bulb reading) during the first 20 days. Increase humidity to 65-70% during the last 3 days before hatching to prevent chicks from sticking to the shell.
Before placing eggs, run the incubator for at least 24 hours to stabilize temperature and humidity. Use a calibrated thermometer and hygrometer; even a slight deviation of 1°F can reduce hatch rates by more than 10%. The National Poultry Improvement Plan (NPIP) recommends checking calibration every time you start a new batch.
Here’s a summary of optimal incubator settings for Chukar partridge eggs:
| Incubation Phase | Temperature (°F) | Relative Humidity (%) | Days |
|---|---|---|---|
| Initial Incubation | 99.5 | 45-50 | 1-20 |
| Pre-Hatch (Lockdown) | 99.5 | 65-70 | 21-23 |
Setting the Eggs and Managing Rotation
Once the incubator is stable, it’s time to set the eggs. Place eggs on their sides or with the pointed end down, ensuring adequate space for air circulation. If you’re using an automatic turner, make sure it’s compatible with the size of Chukar eggs; otherwise, manual turning is required.
Eggs must be turned at least 3-5 times daily to prevent the embryo from sticking to the shell membrane. Always turn eggs an odd number of times each day—this helps ensure that no egg rests in the same position overnight, which can negatively affect development. Automatic turners are not only convenient but also provide more consistent results.
Eggs should be removed from the turner (or left stationary) on day 20, as the chicks begin to position themselves for hatching. This is often called the "lockdown" period, during which increased humidity is critical for successful pipping and hatching.
Candling Chukar Partridge Eggs: Monitoring Embryo Development
Candling is the process of shining a light through the egg to observe embryo development. This step is essential for identifying infertile eggs, early quitters, and late-stage deaths, which can otherwise spoil and contaminate the incubator.
Candling should be performed at least twice during the incubation process: once at day 7 and again at day 14. At day 7, viable eggs will show visible blood vessels and a darkened embryo spot. Clear eggs are likely infertile or non-developing and should be removed. At day 14, movement and further development are visible, and dead embryos can be identified.
A study published in the International Journal of Poultry Science found that regular candling can improve hatch rates by up to 15% by allowing for the timely removal of non-viable eggs.
Managing Humidity, Ventilation, and Temperature Fluctuations
Maintaining the right balance of humidity, ventilation, and temperature is crucial throughout incubation. Chukar partridge eggs lose about 12-14% of their weight during incubation, primarily through water loss. Monitoring this is key to preventing developmental issues.
Too little humidity can cause chicks to become stuck in the shell, while too much can lead to unabsorbed yolk sacs and weak chicks. Adjust humidity by adding or reducing water in the incubator trays and by adjusting ventilation.
Ventilation is equally important. As embryos develop, their oxygen needs increase. Ensure air vents are open, especially in the final week. Poor ventilation can lead to large numbers of weak or deformed chicks.
Temperature stability is vital. A fluctuation of more than 2°F for extended periods can decrease hatch rates by up to 25%. If a power outage occurs, try to minimize opening the incubator and cover it with a blanket until power is restored.
The Hatching Process: From Pipping to Chicks
Chukar partridge eggs typically hatch after 23-24 days of incubation. Pipping—the process where chicks break through the shell—usually begins on day 22. At this stage, do not open the incubator unnecessarily; fluctuations in humidity and temperature can cause chicks to become trapped inside their shells.
Once chicks start to emerge, allow them to dry completely before moving them to a brooder. This usually takes 6-12 hours. Move chicks gently and quickly to a brooder set at 95°F (35°C), reducing the temperature by 5°F each week until fully feathered.
Expect a hatch rate of 70-80% with good practices. Lower rates may indicate issues with egg quality, incubation settings, or handling. Record your results, as ongoing data collection helps refine your incubation process over time.
Troubleshooting: Common Incubation Problems and Solutions
Even experienced breeders sometimes encounter incubation challenges. Here are common problems and their solutions:
- $1 Often due to poor nutrition or unhealthy breeding stock. Ensure breeders receive a high-protein diet (at least 20%) and are not overcrowded. - $1 Can result from temperature spikes or contamination. Clean the incubator thoroughly between batches. - $1 Usually a sign of low humidity. Increase water trays or use a wet sponge in the incubator during lockdown. - $1 Indicates too high humidity or low temperature. Double-check settings and reduce humidity if necessary. - $1 May be related to poor ventilation or fluctuating temperatures. Open air vents and monitor settings closely.By keeping detailed records and making small adjustments each cycle, you can consistently improve your hatch rates and chick quality.
Best Practices for Chukar Partridge Egg Incubation: Key Takeaways
Proper incubation of Chukar partridge eggs is a blend of science, attention to detail, and hands-on care. Here’s a summary of the critical steps:
- Select clean, undamaged, and fresh eggs from healthy hens. - Store eggs at 55-65°F (13-18°C) and 70-80% humidity, turning daily. - Set the incubator to 99.5°F (37.5°C) and 45-50% humidity for the first 20 days, increasing to 65-70% for the last 3 days. - Turn eggs 3-5 times daily, using an automatic turner if possible. - Candle eggs at days 7 and 14 to remove non-viable eggs. - Maintain stable temperature and humidity, and ensure good ventilation. - Allow chicks to dry in the incubator before moving them to a warm brooder.With these best practices, breeders can expect high hatch rates and strong, healthy Chukar chicks.