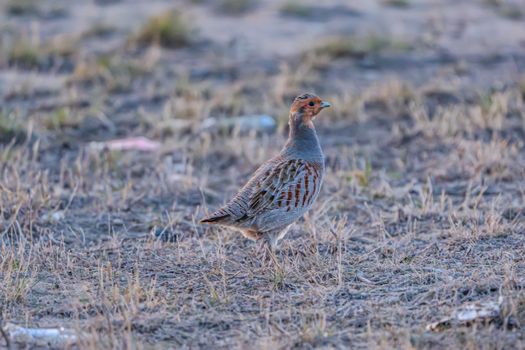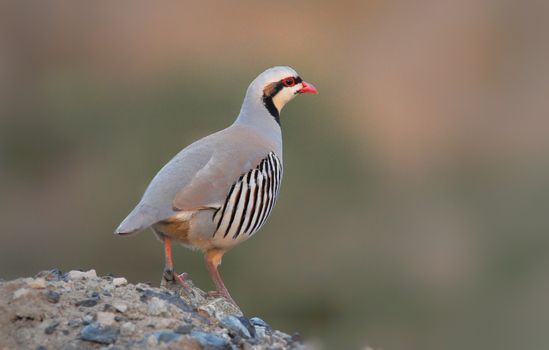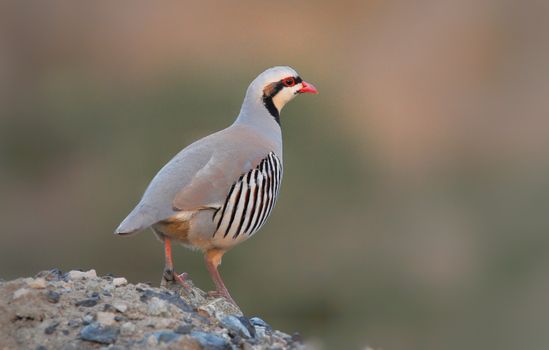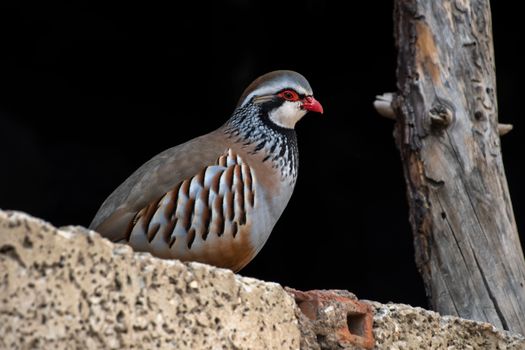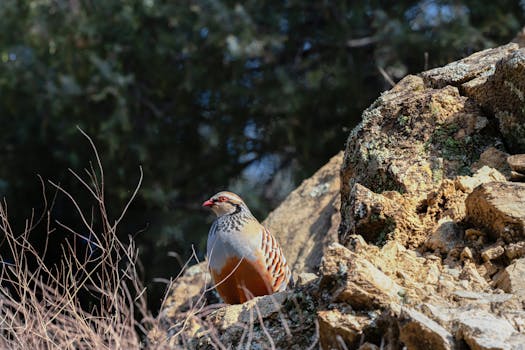
Chukar partridges (Alectoris chukar) are striking upland game birds renowned for their adaptability and value in hunting, conservation, and unique poultry markets. As interest in sustainable and alternative poultry farming grows, breeding Chukar partridges has become a rewarding venture for hobbyists and professional breeders alike. However, successfully breeding these birds requires more than simply pairing males and females. Careful planning, precise environmental control, attention to genetics, and tailored flock management are crucial for optimal results.
This step-by-step guide explores the process of breeding Chukar partridges from setup to chick rearing, providing actionable insights at every stage. Whether your goal is to maintain a conservation program, supply game birds, or start a niche poultry business, mastering these steps can set you on the path to Chukar breeding success.
Understanding Chukar Partridge Biology and Breeding Seasonality
To breed Chukar partridges effectively, it’s vital to understand their natural biology and reproductive rhythms. Native to rocky, arid regions of Eurasia, Chukars are seasonal breeders, with natural cycles closely tied to daylight and temperature.
.png)
Chukar partridges typically reach sexual maturity at 6-8 months of age. In their natural habitat, the breeding season begins in spring, when daylight exceeds 14 hours. This photoperiod triggers hormonal changes leading to mating behaviors and egg production.
Key biological facts: - Average lifespan: 2–5 years in captivity - Optimal breeding age: 1–3 years (fertility and hatch rates decline after 3 years) - Typical clutch size: 10–20 eggs per female, per breeding season - Incubation period: 23–25 daysAwareness of these natural cycles is essential. Attempting to breed Chukars outside their photoperiod window or using birds past their prime can drastically reduce fertility and chick survival.
Preparing the Breeding Environment: Housing, Lighting, and Biosecurity
Success in Chukar breeding starts with a carefully prepared environment. Chukars are sensitive to overcrowding, poor ventilation, and abrupt environmental changes, all of which can suppress fertility or cause stress-induced health issues.
1. $1 Each breeding pair or trio (1 male:2 females) should be housed in a secure, well-ventilated pen. Recommended space is at least 4 square feet per bird. Flooring should allow for easy cleaning and good drainage, using wire mesh or sand. Provide hiding areas with low shrubs, grass, or artificial cover to mimic natural nesting preferences. 2. $1 To stimulate breeding, provide artificial lighting to extend daylight to 14–16 hours per day, starting in late winter. Use low-wattage, warm-spectrum bulbs on timers to gradually increase light exposure, preventing stress from sudden changes. 3. $1 Rigorous hygiene minimizes disease risk. Disinfect housing before breeding season, use footbaths at entry points, and restrict access to essential personnel only. Clean waterers and feeders daily. 4. $1 Maintain ambient temperatures between 60–75°F (16–24°C). Avoid drafts, but ensure airflow. Humidity should be moderate (45–55%) to prevent respiratory issues and keep eggs from desiccating.By prioritizing these environmental factors, you create a foundation for healthy, productive breeding stock.
Selecting and Pairing Breeding Stock: Genetic Considerations
Choosing the right birds for your breeding program is critical. Genetic diversity affects hatchability, chick vigor, and resistance to disease.
$1 - Source birds from multiple reputable breeders to avoid inbreeding. - Choose birds with vibrant plumage, symmetrical markings, and alert posture. - Avoid breeding closely related individuals (siblings, parent-offspring pairs). - Select birds aged 1–3 years for maximum fertility. $1 - Pair one male with one or two females. Chukars form loose pair bonds but can breed successfully in trios. - Observe behavior: Remove overly aggressive or submissive birds that disrupt flock harmony. $1 - Maintain records of parentage, hatch rates, and any hereditary health issues. - Rotate breeding stock every few years to introduce new genetics.A well-planned pairing system not only boosts productivity but also preserves the long-term health of your Chukar population.
Egg Collection, Handling, and Incubation Techniques
Egg management is a make-or-break factor in Chukar breeding. Mishandling eggs can cause low hatch rates, while poor sanitation can introduce pathogens to developing embryos.
1. $1 Gather eggs 2–3 times daily, especially during hot or humid weather. Mark each egg with date and parentage using a pencil. 2. $1 Store eggs at 55–60°F (13–16°C) with 70–75% humidity if not incubating immediately. Store with the pointed end down and rotate daily to prevent yolk sticking. 3. $1 Discard cracked, oddly shaped, or heavily soiled eggs. These are less likely to hatch and can contaminate incubators. 4. $1 Use a forced-air incubator set to 99.5°F (37.5°C) and 50–55% humidity for the first 21 days. Increase humidity to 65–70% during the final 2–3 days (lockdown). Turn eggs at least three times daily until lockdown. 5. $1 Candle eggs at day 7 and day 14 to check for development. Remove infertile or dead eggs promptly.$1 Well-managed programs achieve 70–80% hatch rates. Suboptimal conditions can drop success to below 50%.
Below is a comparison table of optimal vs. suboptimal incubation parameters and their impact:
| Parameter | Optimal | Suboptimal | Impact on Hatch Rate |
|---|---|---|---|
| Temperature | 99.5°F (37.5°C) | Below 98°F or above 101°F | Reduces hatch by 15–60% |
| Humidity (early) | 50–55% | <40% or >60% | Embryo death, weak chicks |
| Egg Turning | 3x daily | Rarely or not at all | Deformities, low hatchability |
| Sanitation | Disinfected incubators | Dirty incubators | Bacterial contamination, embryo loss |
By adhering to these incubation best practices, breeders can maximize hatchability and chick health.
Raising Chukar Chicks: Early Care and Growth Milestones
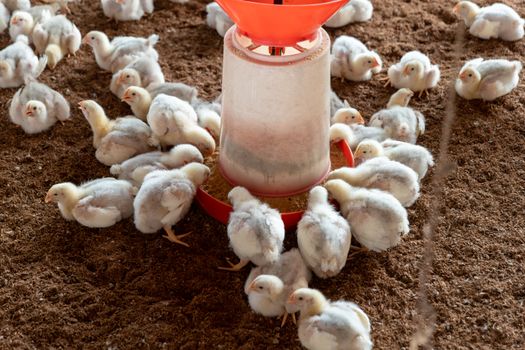
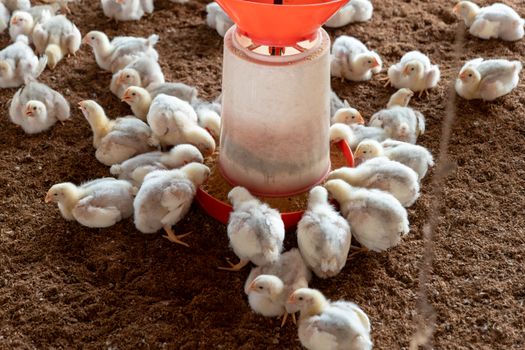
Chukar chicks are delicate and require attentive rearing in the first weeks after hatching. Survival and healthy development depend on warmth, proper nutrition, and protection from disease.
1. $1 Place chicks in a clean brooder at 95°F (35°C) for the first week, reducing temperature by 5°F each week until fully feathered (at 4–5 weeks). Use infrared or heat lamps, and monitor for crowding (a sign they’re too cold) or panting (too hot). 2. $1 Use paper towels or rubber mats for the first week to prevent leg injuries (spraddle leg). Switch to clean sand or fine wood shavings after. 3. $1 Provide a high-protein starter feed (26–28% protein) formulated for game birds. Chukar chicks need small, uniform crumbles for easy consumption. Fresh water must be available at all times; use shallow trays to prevent drowning. 4. $1 Watch for signs of coccidiosis (diarrhea, lethargy), which is a major risk in crowded or damp brooders. Use medicated starter feed if advised by a veterinarian, and change bedding frequently. 5. $1 - By day 14: Chicks double in size and begin feathering. - By week 4: Wing and body feathers develop; chicks can tolerate cooler temperatures. - By week 6: Chicks can be moved to grow-out pens.Following these steps ensures strong, resilient Chukar partridges ready for adult life.
Step-by-Step Breeding Timeline for Chukar Partridges
A structured timeline helps manage all phases of Chukar breeding, from preparation to chick independence.
| Step | Timing | Key Actions |
|---|---|---|
| Breeder Selection | 60–90 days before breeding season | Choose and health-check breeding stock |
| Environmental Setup | 30–60 days before | Clean, disinfect, and prepare pens; install lighting |
| Photoperiod Adjustment | 30 days before | Increase daylight hours to 14–16 hours/day |
| Pairing Birds | 2 weeks before | Introduce pairs/trios, monitor compatibility |
| Egg Collection | Start of season | Collect, store, and record eggs |
| Incubation | As eggs are laid | Incubate using optimal settings; candle regularly |
| Chick Brooding | Post-hatch (Day 1 onward) | Warm, feed, and monitor chicks for growth and health |
This timeline provides a framework for both small-scale and commercial Chukar breeding operations.
Final Steps to Achieve Chukar Partridge Breeding Success
Successfully breeding Chukar partridges is a rewarding process that blends natural instincts with careful human management. The key is attention to detail: selecting genetically robust stock, controlling the breeding environment, handling eggs with care, and nurturing chicks through their most vulnerable stages.
With each breeding season, keep thorough records of pairings, hatch rates, and any health issues. These records will help refine your methods and improve outcomes year after year. As demand for Chukar partridges continues to rise in hunting, conservation, and alternative poultry circles, mastery of these breeding steps can open doors to new opportunities and sustainable success.